Setup is where you build the reference data every other flow depends on: the clients who own goods, the commodities you store, the physical warehouse layout, and the rate cards that price storage. Do it once before your first inward, then return to add or edit as your facility grows. Almost everything here is Admin or Manager territory.
Work in this order — each area depends on the ones before it: Clients & Commodities → Locations → Warehouse Grid → Rate Cards.
Step 1 — Add clients
From the top navigation, choose Setup → Clients. Add each depositor with their name, type, and phone (phone must be unique per tenant). Clients are the owners you pick from the typeahead at inward and on every bill.
For a large list, use the Import button to bulk-upload from a CSV or XLSX file instead of adding clients one at a time. Download the template, fill it in, preview the parsed rows, and commit. Bulk import is an optional feature.

Step 2 — Declare commodities and bag sizes
Open Setup → Commodities. Declare each commodity you store, optionally with its variety, grade, and HSN code. Commodities also support bulk Import the same way clients do.
Then open Setup → Bag Sizes to define the bag sizes your facility handles. Bag size drives rate-card matching and capacity, so declare it before pricing.

Step 3 — Build the warehouse hierarchy
Open Setup → Locations and build the physical hierarchy: Location → Chamber → Floor → Bin → Slot. Slots are the smallest unit goods occupy, so the tree must reach slot level before any inward can find space.
To stand up a whole facility at once, use Bulk Setup to generate a non-uniform per-floor grid, or import the layout from a CSV (one row per slot, with optional grid_col / grid_row for the visual grid). The quick-add dialog handles smaller additions.

Step 4 — Lay out the warehouse grid
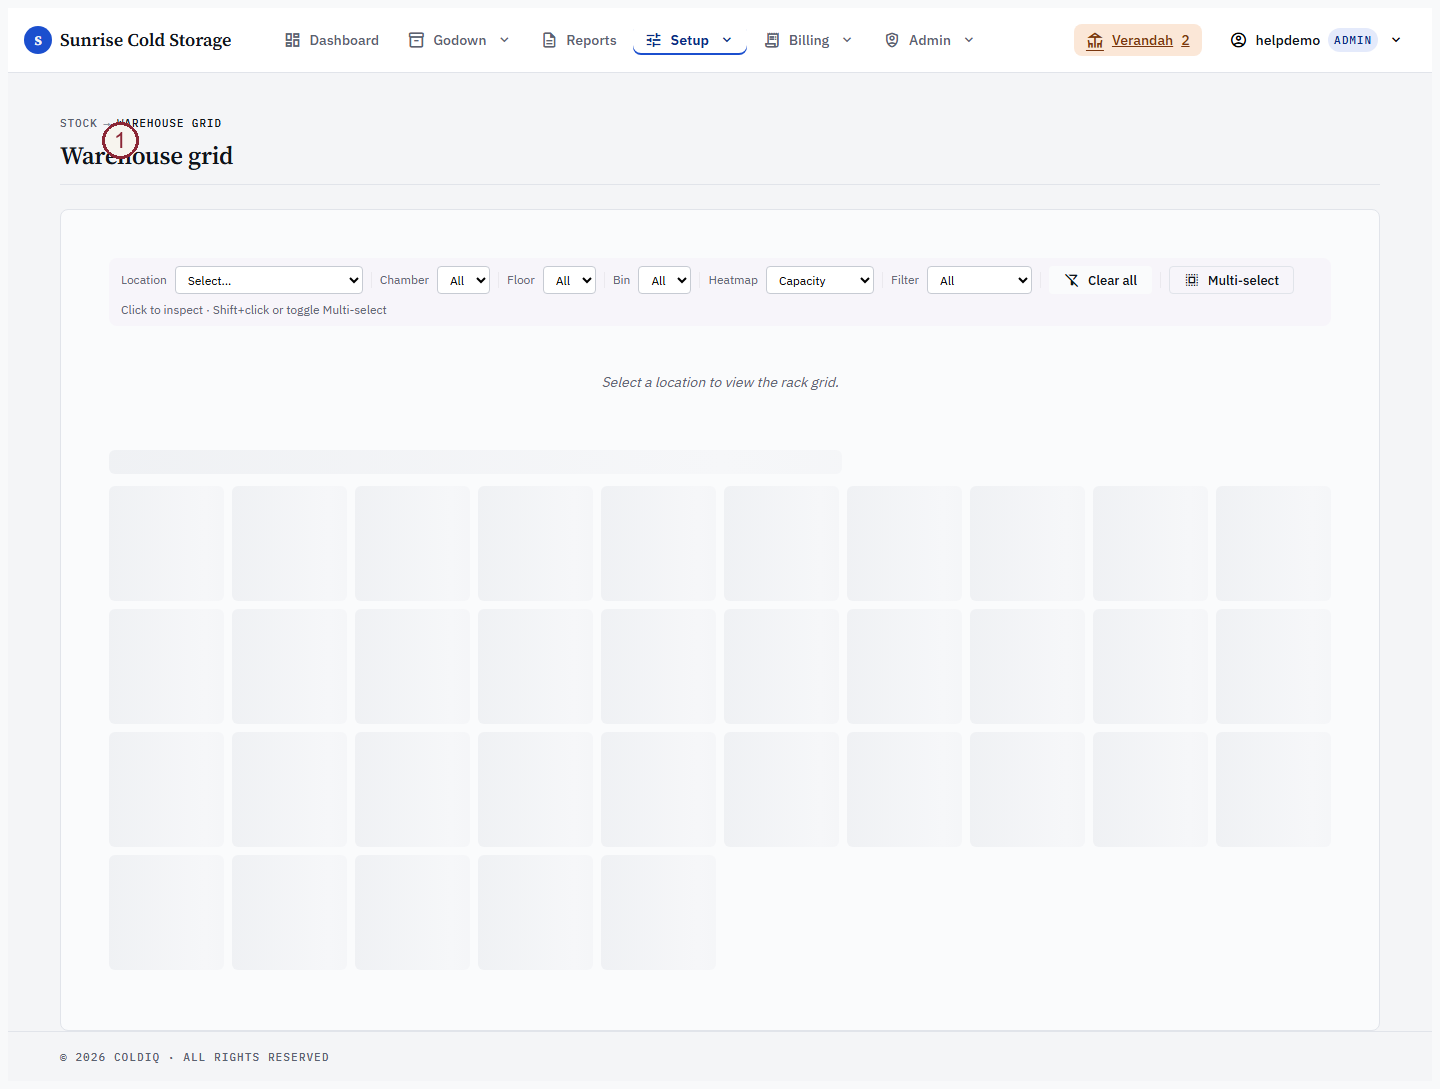
Open Setup → Warehouse Grid to position bins visually — banks, hallway aisles, and serpentine ordering — so operators can read the floor at a glance. This view is what the inward "slot not available" message points back to. (Warehouse Grid is a gated feature; if you don't see it, the hierarchy from Step 3 is still fully usable without it.)
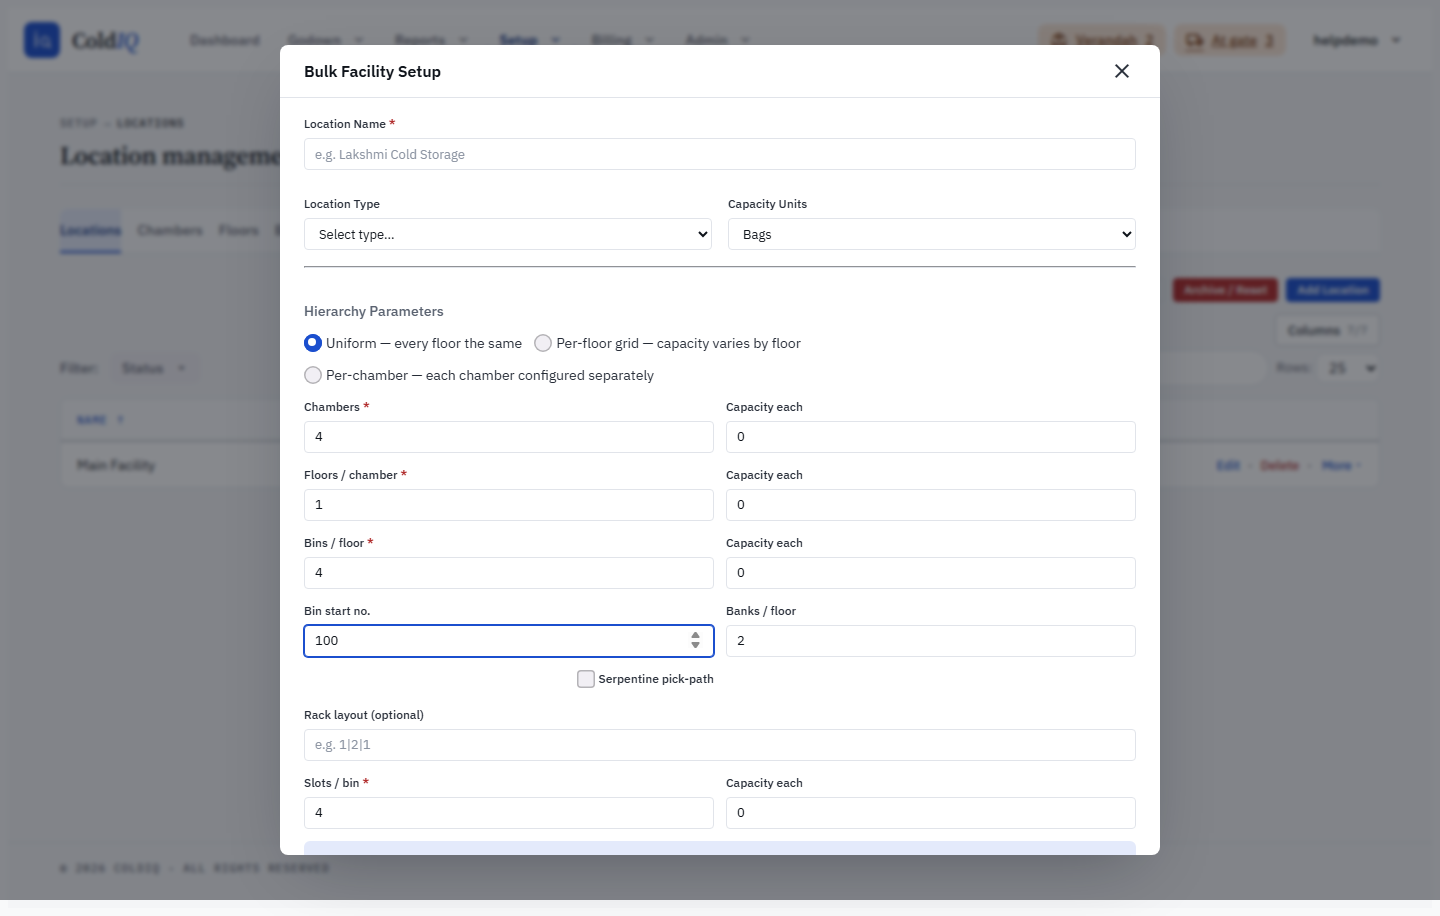
Bulk Setup modes — uniform, per-floor grid, per-chamber
The Bulk Setup wizard (from Setup → Locations) stands up a whole Location → Chamber → Floor → Bin → Slot tree in one go. Pick a layout mode at the top of the dialog — the cap_mode toggle — and only the matching block of fields stays active:
- Uniform — every floor the same. You enter one set of numbers (chambers, floors per chamber, bins per floor, capacities, slots per bin) and every chamber and floor is built identically. This is the simplest path and the default.
- Per-floor grid — capacity varies by floor. You add a row per floor (up to 9) and give each its own bins-per-floor, capacities, bank/aisle layout, and serpentine setting. That single floor stack is then applied to every chamber, so all chambers share one non-uniform floor gradient.
- Per-chamber — each chamber configured separately. An accordion gives every chamber (A, B, C, …) its own floor rows, so Chamber A can differ from Chamber B. Use the Copy from picker on a chamber panel to clone another chamber's floors as a starting point, then edit. This is the mode for facilities where chambers were built at different times or to different plans.
A live preview at the bottom totals chambers, floors, bins, and slots, and flags any capacity mismatch (e.g. bin capacity smaller than its slots can hold) before you submit. Per-chamber and per-floor modes set no upper limit on chamber count beyond the facility-wide cap; they change floor structure only, not the total bag capacity formula.

Per-floor bin numbering — the Bin start number
By default the wizard numbers bins as Bin-{100×floor + n} — so Floor 1 bins are Bin-101, Bin-102, …, Floor 2 bins are Bin-201, …, and bin codes never collide across floors. That works for most facilities.
Some warehouses already label their bins on a scheme of their own — for example Floor B-1F's first bin is physically marked 100, not 201. The Bin start field (per floor in the per-floor and per-chamber modes, or one value in uniform mode) lets you anchor that floor's first bin at a number you choose: enter 100 and the floor's bins become Bin-100, Bin-101, Bin-102, …. The field accepts 1 to 9999; leave it blank (or 0) to keep the automatic 100×floor + n scheme.
Bin start is a build-time setting — it shapes the codes the wizard generates and is not edited afterward. Because two floors in the same chamber can now legitimately share a bin number (e.g. both starting at 100), bin codes are unique per floor, not per chamber — which matters when you import inward stock by bin code (next section).
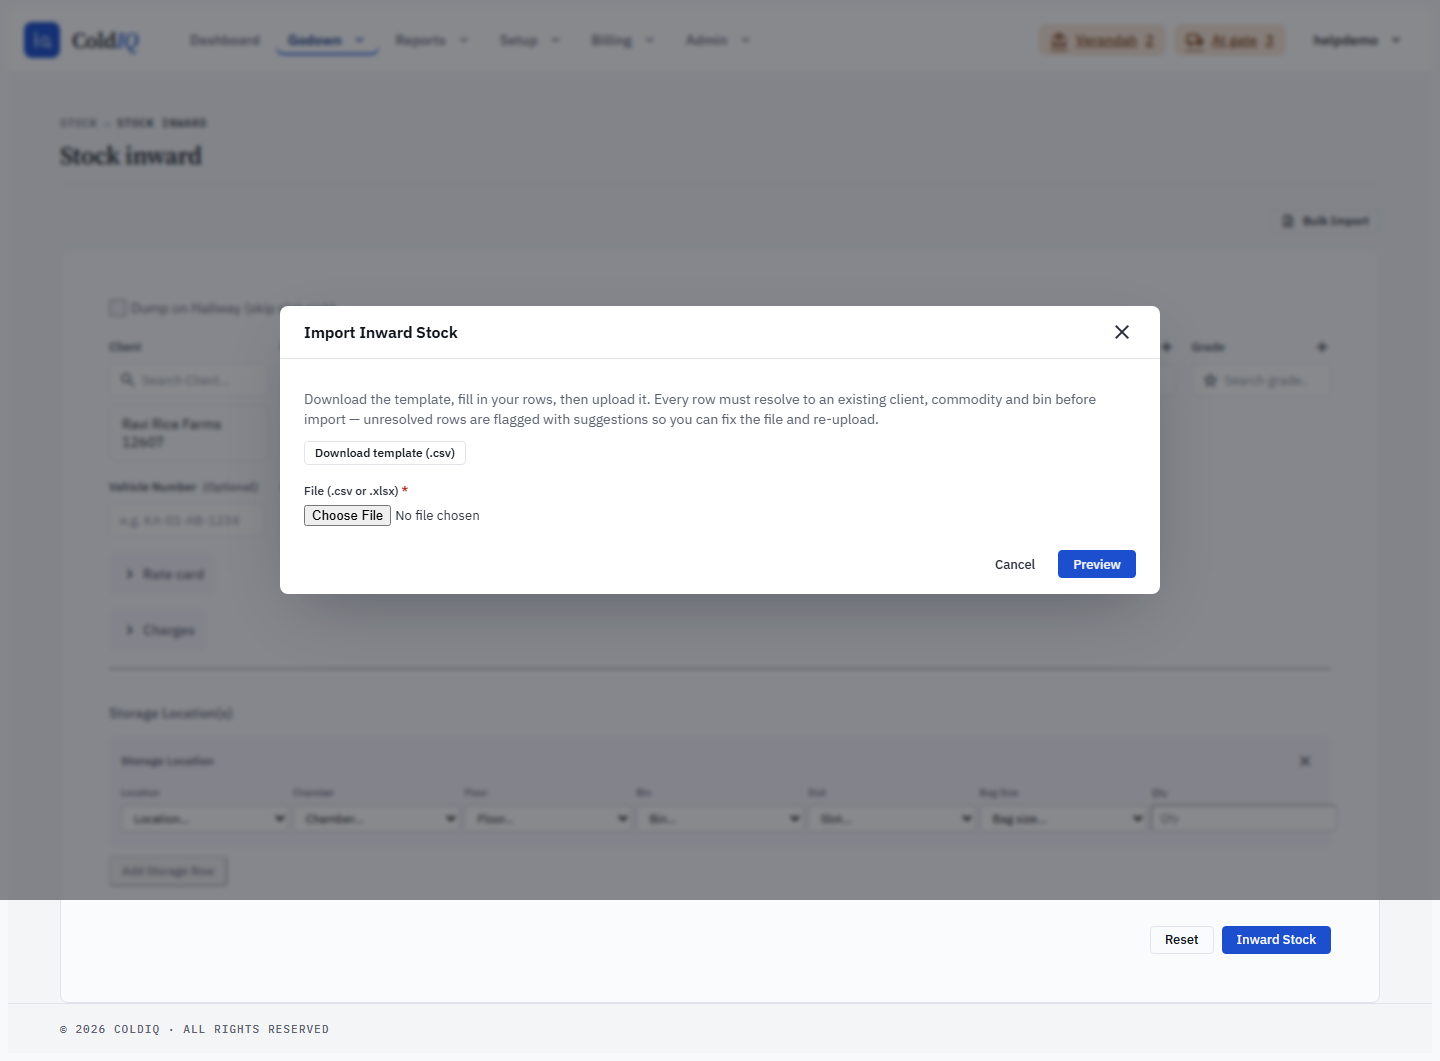
Floor-aware inward import — the optional floor_code column
The inward bulk import resolves each row's bin within its chamber by bin code. As long as every bin code is unique inside a chamber, the importer finds the right bin on its own and you need no floor column.
Once you use per-floor Bin start numbers, two floors in one chamber can share a bin code (both have a Bin-100). To keep the importer from guessing, add an optional floor_code column to your inward import file (the floor's code, e.g. F1, F2). With it, the importer resolves the exact (chamber, floor, bin). Without it, the importer still resolves automatically whenever only one of the same-coded bins actually has slots; but if two or more floors share the code and both hold slots, the row is flagged as ambiguous (bin '…' exists on multiple floors in this chamber — add a floor_code column to disambiguate) rather than silently routed to the wrong floor. The preview and the commit apply the exact same resolution, so what you see in preview is what gets created.
If you never set custom bin starts, you can ignore the floor_code column entirely.
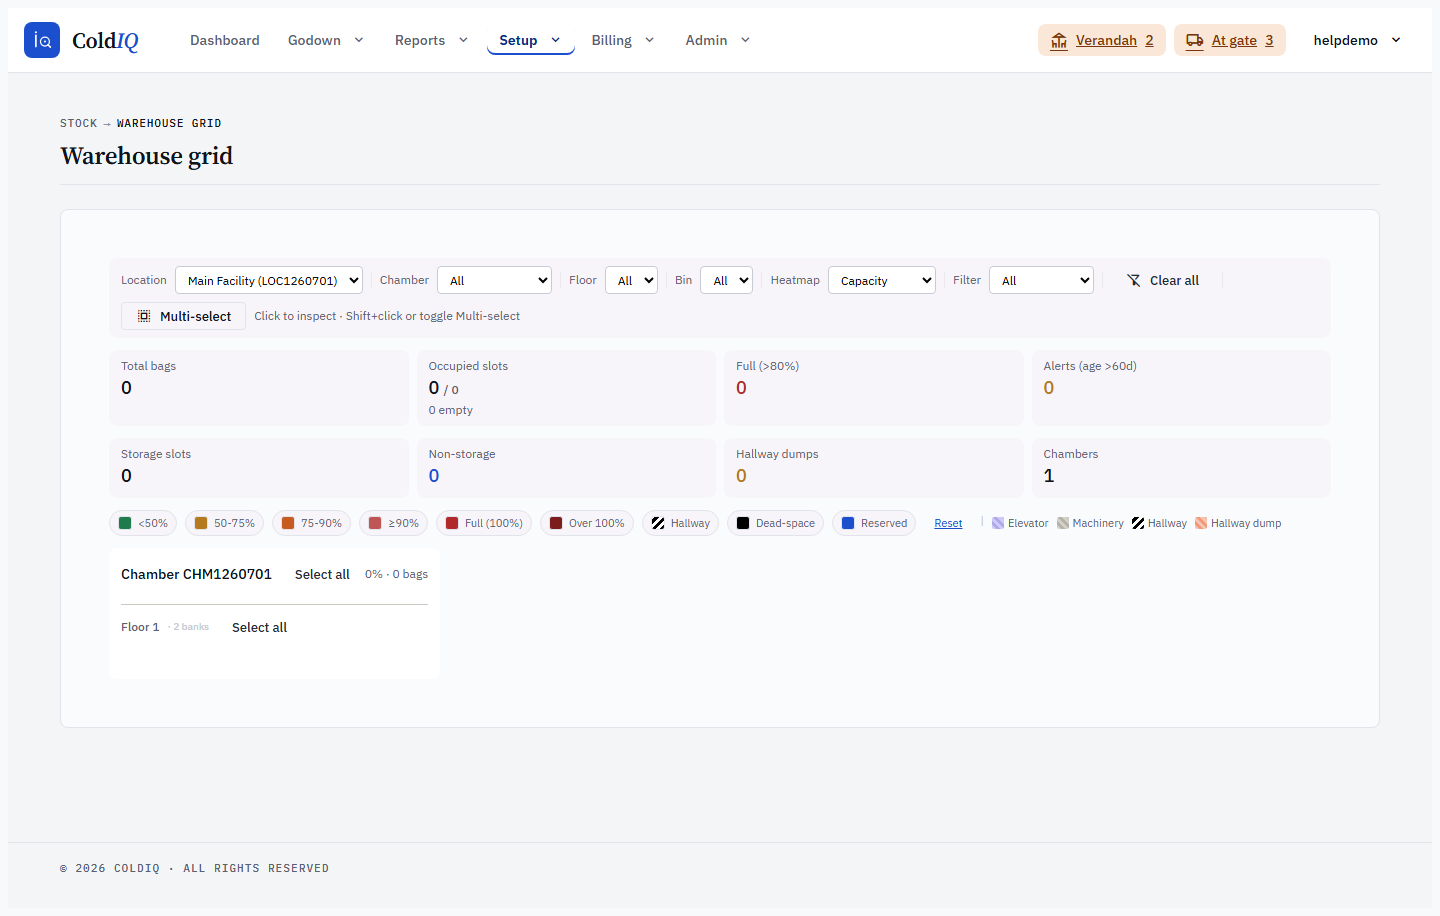
Warehouse Grid v2 — the over-capacity bucket
On the capacity ("cap") heatmap, the Warehouse Grid colours each slot by how full it is and the legend doubles as a click-to-filter control: click a band chip to dim everything else and isolate just those slots; click Reset (or the chip again) to clear.
Alongside the usual bands (<50%, 50-75%, 75-90%, ≥90%, and Full (100%)) there is an Over 100% bucket. A slot lands here when it holds more bags than its declared capacity — the warehouse-grid signal that stock was double-stocked, mis-attributed at intake, or imported on top of existing bags. Over-capacity is allowed (the bags are physically there), so the grid surfaces it rather than blocking it. Click the Over 100% chip to find every over-stocked slot at a glance, then open a slot to see what is in it. A genuine mis-split within one receipt is corrected by moving the bags with an Internal Transfer.
Step 5 — Create rate cards
Rate cards live under Billing → Rate Cards (not the Setup menu). Create at least one card so storage can be priced. A card matches a deposit on commodity, variety, grade, and bag size, and carries the per-bag storage rate — which can differ per bag size on the same card — plus optional hamali and other charges.
You can also add a matching card inline from the inward form, but seeding the common cards here first means operators see a pre-selected best match at deposit time.

Step 6 — Confirm before first inward
Before recording your first receipt, confirm the inward preconditions are met: at least one client, one commodity with a bag size, and at least one location with available slots. A rate card is recommended but optional — the bill can resolve a card automatically at outward time if none is assigned.
If you onboarded via the guided bundle, much of this reference data was loaded for you; this page is also where you edit or extend it day to day.
If this breaks
- "Client phone already exists" — the depositor is already registered. Search Setup → Clients for the existing record instead of re-adding.
- Import preview shows row errors — fix the flagged cells in your file and re-upload; the commit only runs once every row is valid. Required columns are listed in the template.
- Inward says "Slot not available" even though Locations look populated — the hierarchy stops above slot level, or every slot is full. Open Setup → Warehouse Grid to confirm slots exist and have free capacity.
- No rate card offered at inward — no card matches that commodity/variety/grade/bag size. Add one under Billing → Rate Cards, or choose "No card — resolve at billing time."
- Bulk Setup preview shows a capacity warning — a child total exceeds its parent's capacity (e.g. slots × slot capacity > bin capacity, or bins × bin capacity > floor capacity). Lower the child counts or raise the parent capacity until the preview clears; the Submit button stays disabled while a mismatch is flagged.
- Import row flagged "bin exists on multiple floors in this chamber" — two floors share that bin code (you used per-floor Bin start numbers) and both hold slots, so the importer can't tell which floor you mean. Add a
floor_codecolumn to the file naming the floor (e.g.F2) and re-upload. - A slot shows in the Over 100% bucket — it holds more bags than its declared capacity. This is informational, not an error; if the over-count came from a mis-split within one receipt, correct it by moving the bags with an Internal Transfer.
Related
See also: Stock Inward, Billing Cycle.